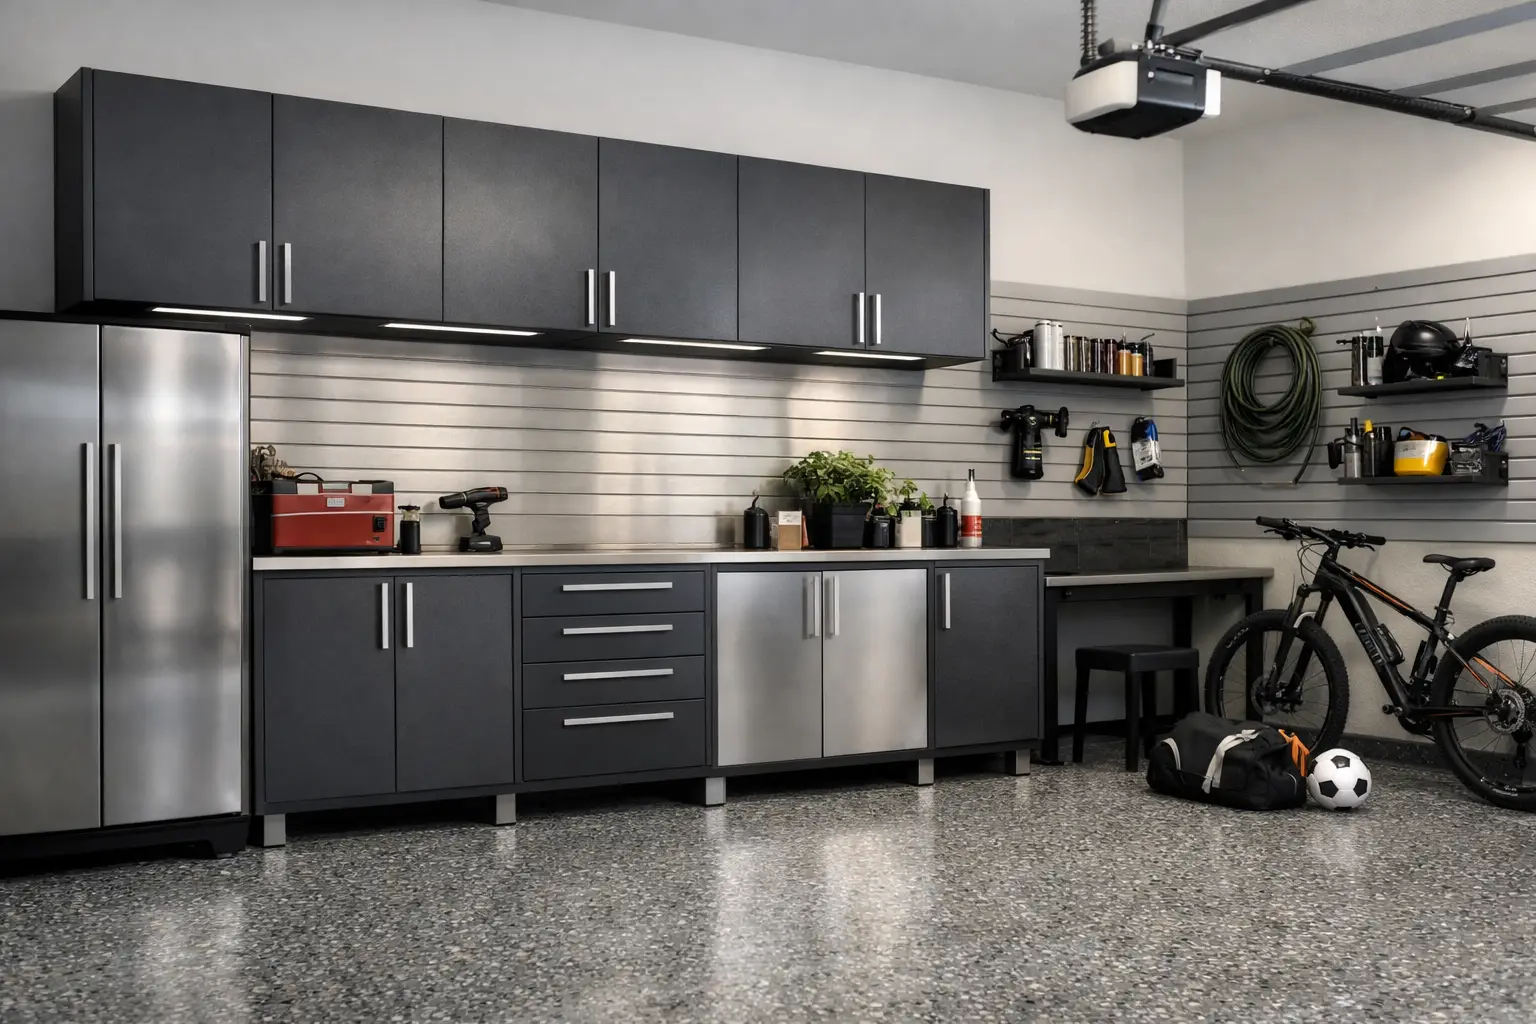
Garage wall mounted cabinet systems create cleaner, safer storage while freeing floor space. Learn what to choose and what matters most.
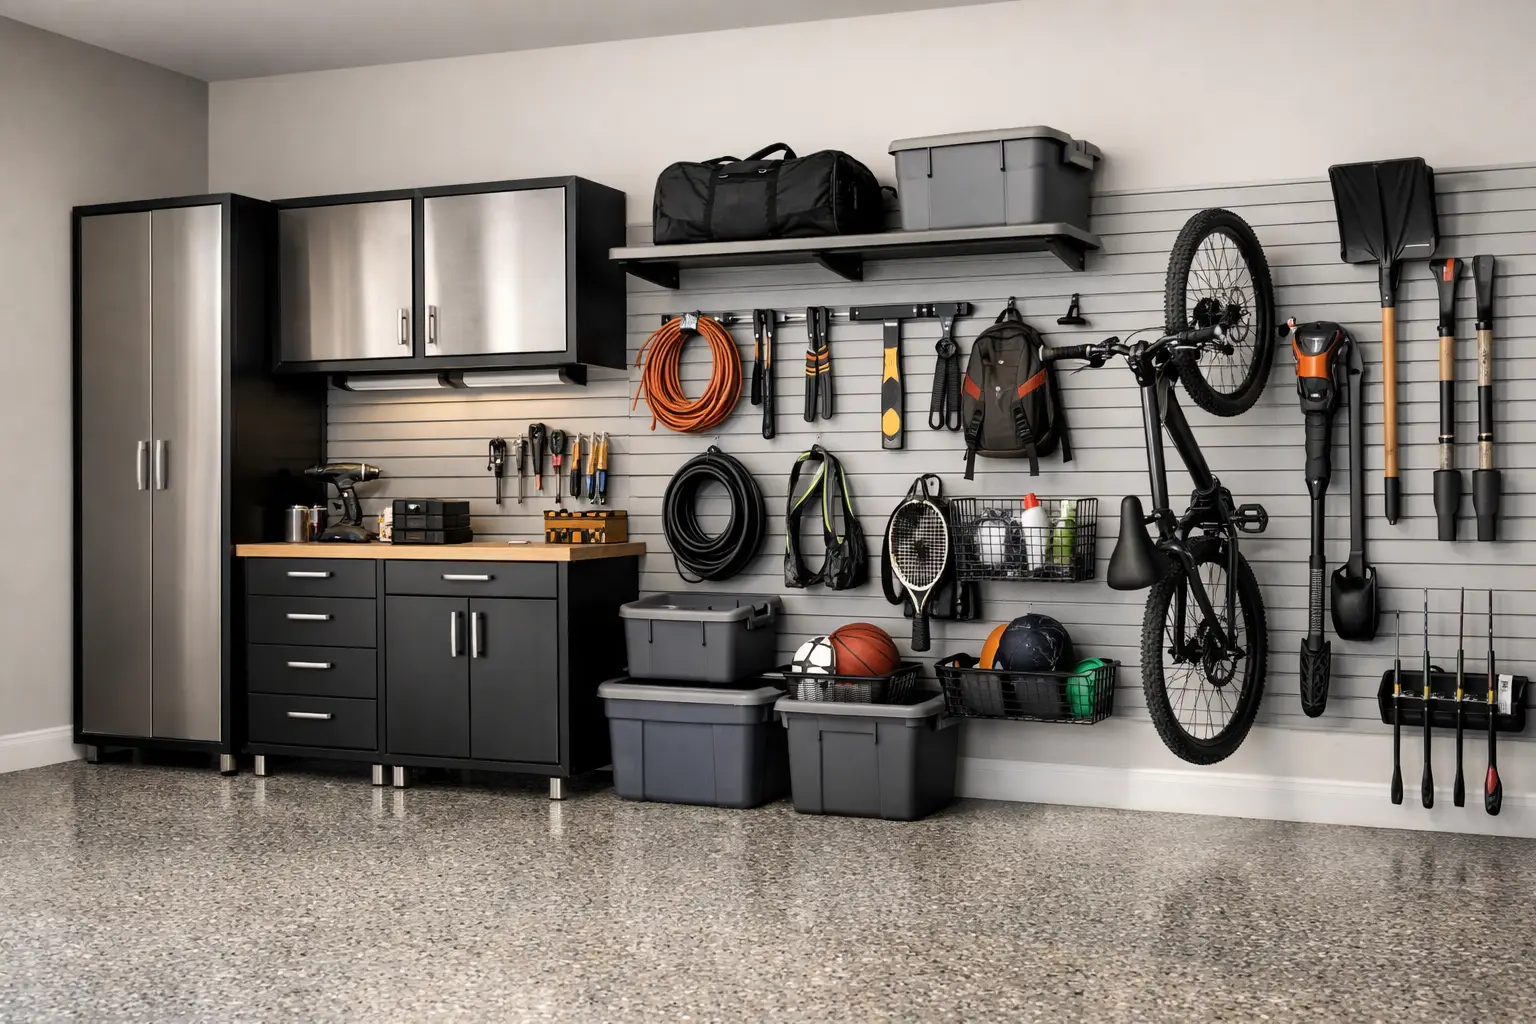
12 Garage Wall Storage Ideas That Work
Smart garage wall storage ideas to clear floor space, protect gear, and create a cleaner, more functional garage that feels designed to last.
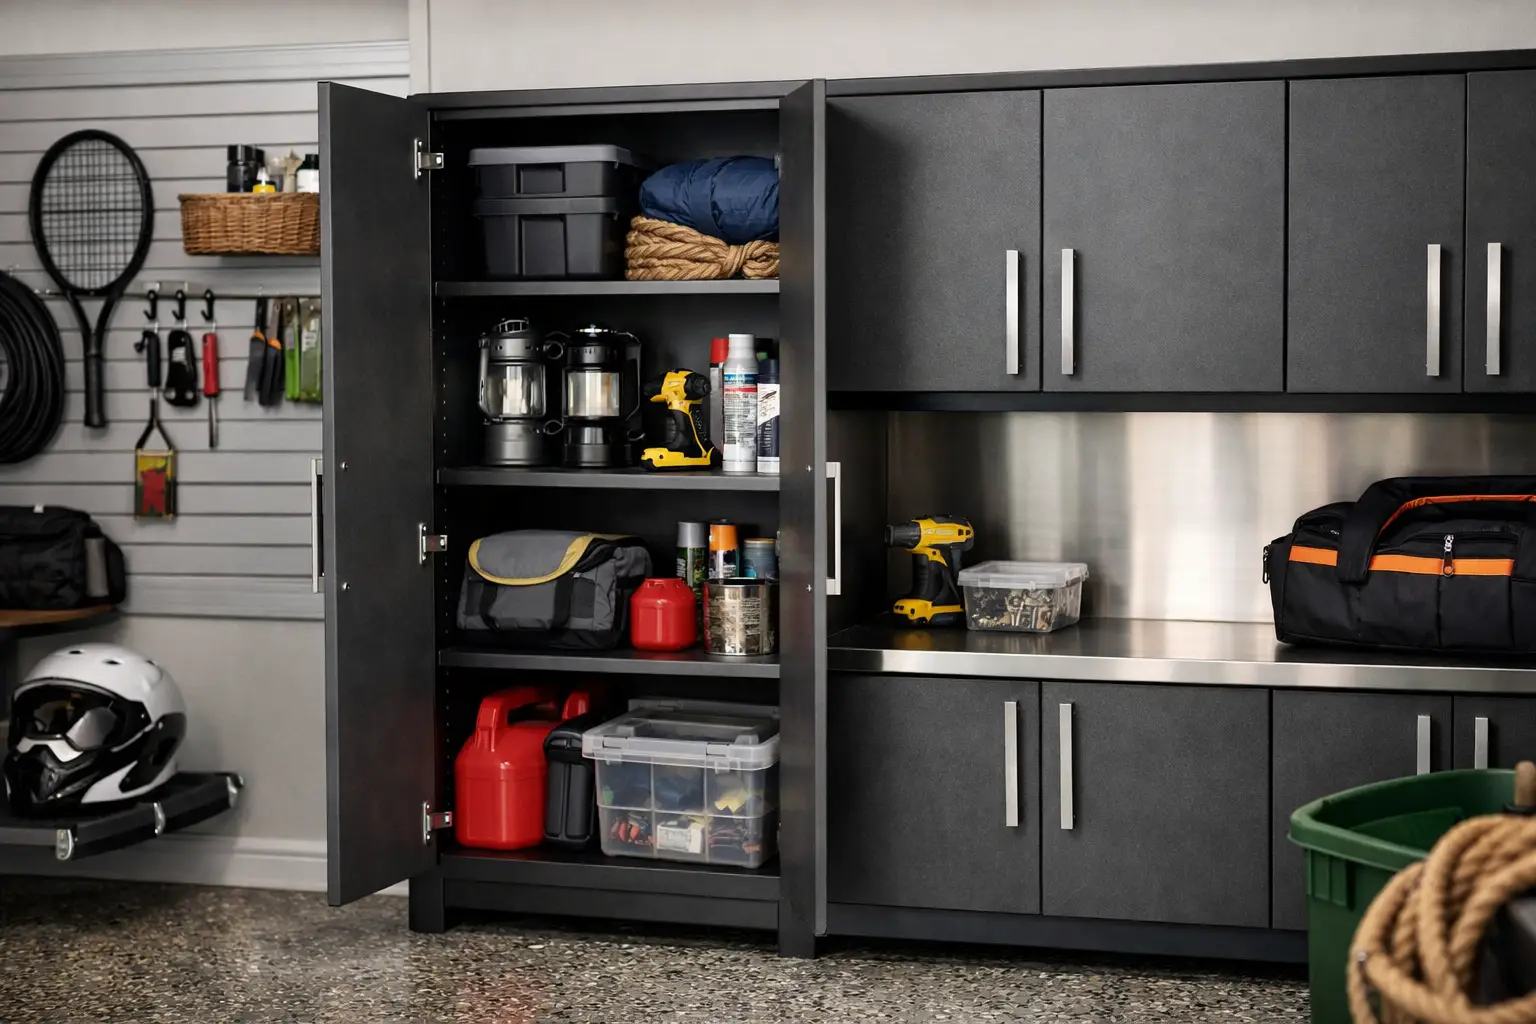
What to Store in Garage Cabinets
Wondering what to store in garage cabinets? Learn what belongs behind closed doors, what should stay out, and how to keep your garage tidy.
Custom Garage Cost: What Homeowners Pay
Learn what drives custom garage cost, from cabinetry and flooring to layout and installation, so you can budget with clarity and confidence.
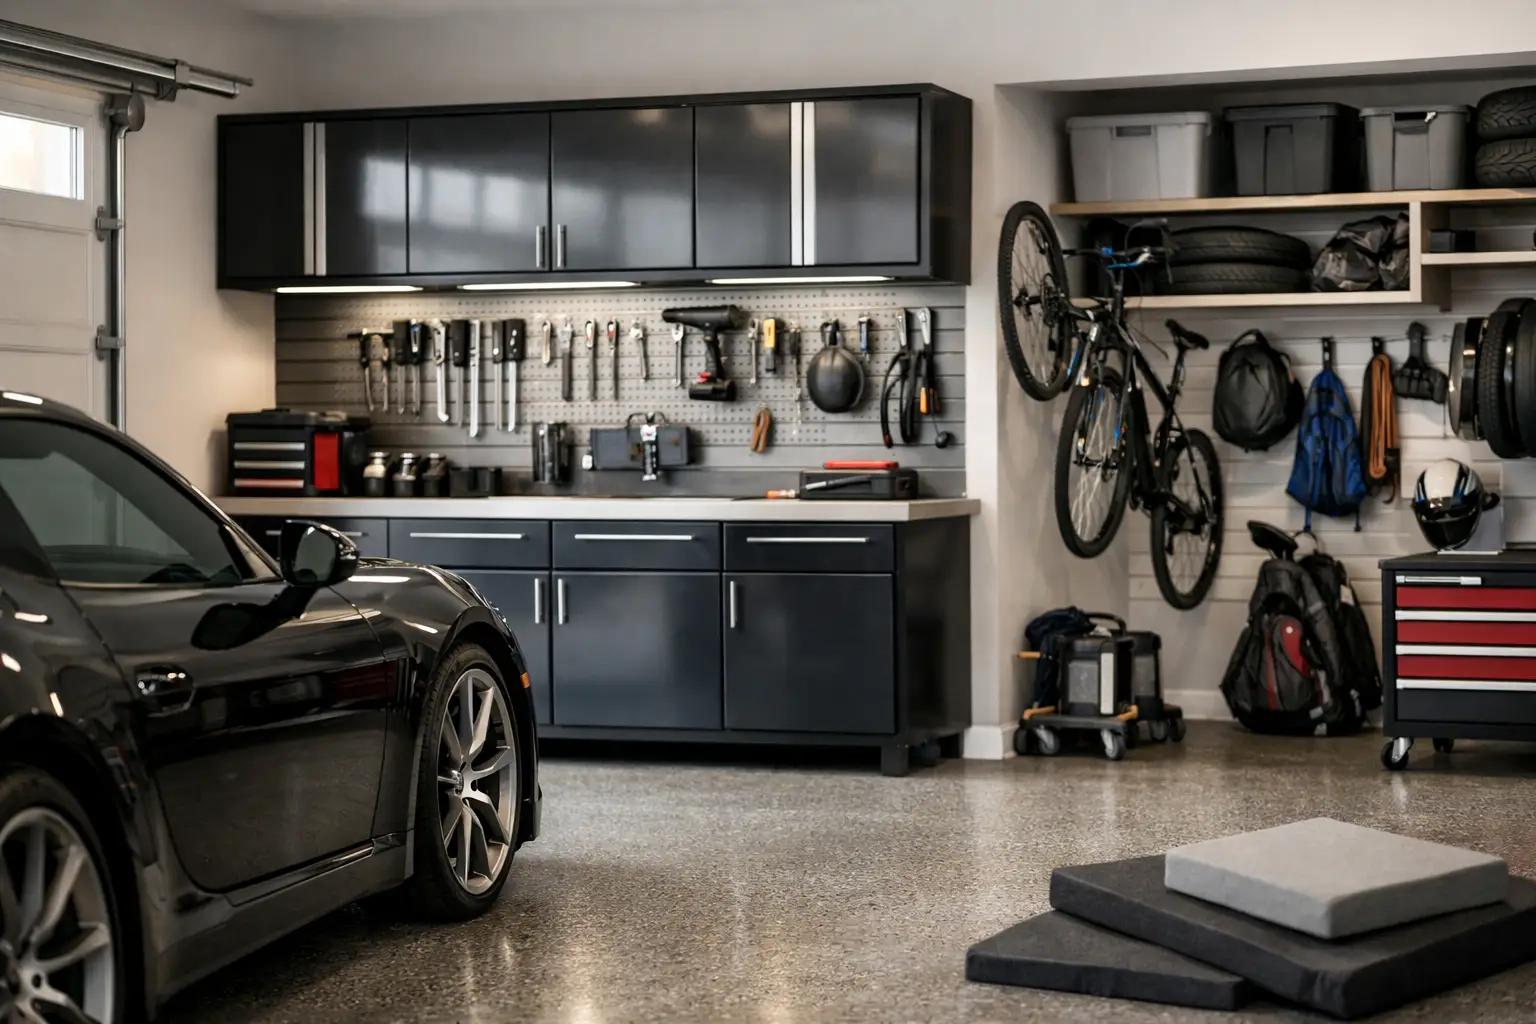
Custom Garage Makeovers That Truly Work
Custom garage makeovers turn cluttered, underused space into polished, practical storage with design, durability, and everyday ease built in.
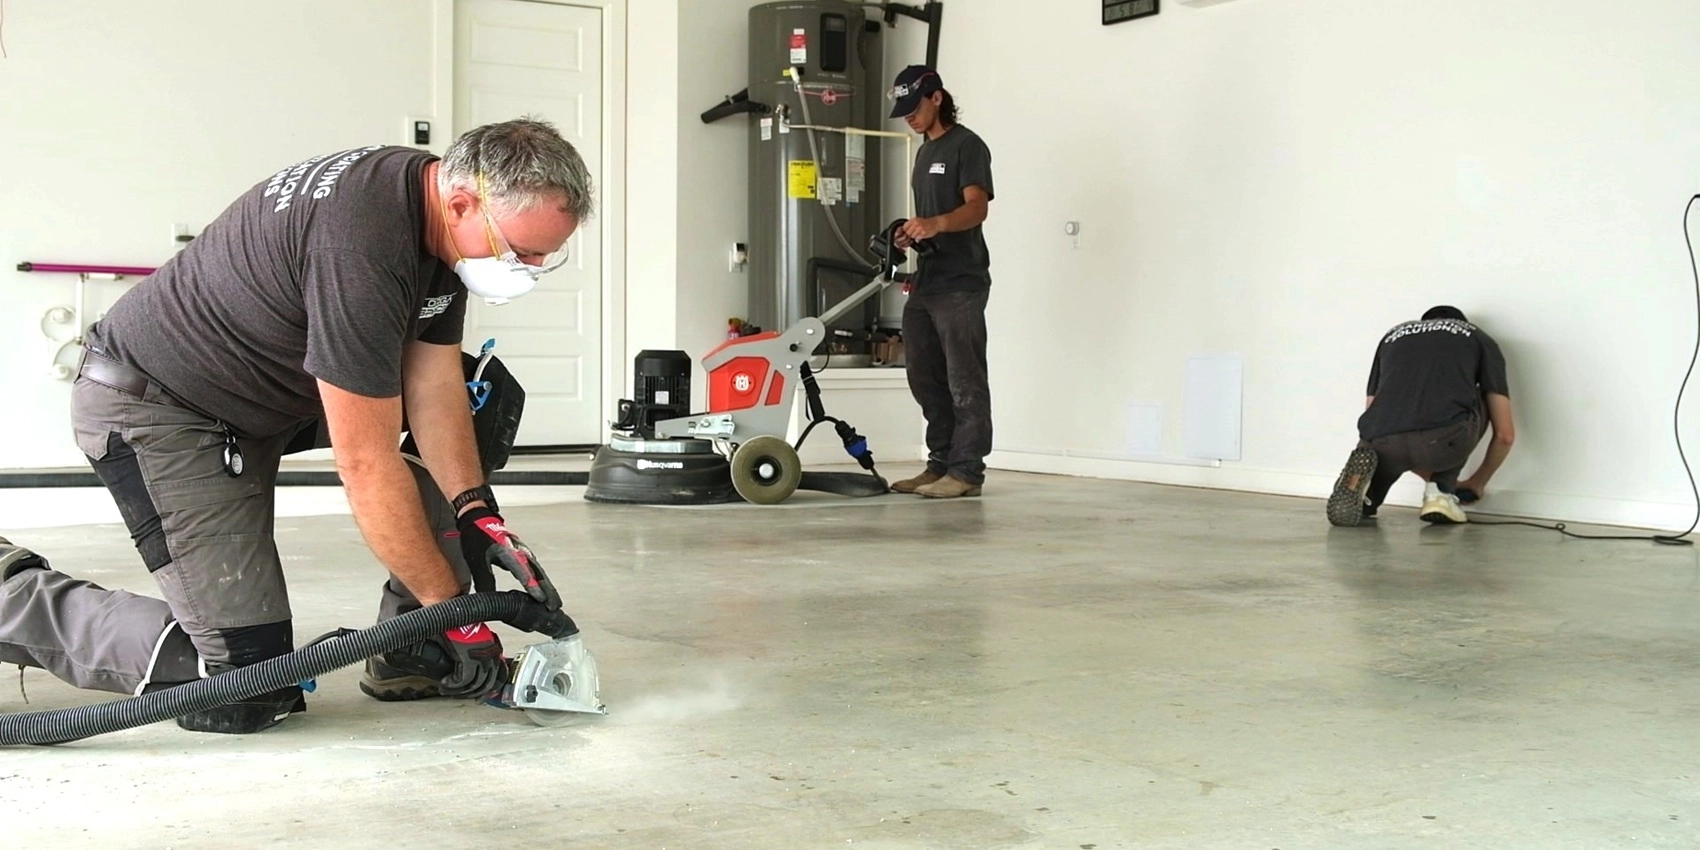
How Much Does Garage Floor Coating Cost – Free Calculator
Estimate your garage floor coating cost! Calculate the average epoxy, polyaspartic, or perforated tilefloor prices per square foot. When planning your renovation, keep the garage floor coating cost in mind to stay within budget. Your garage is much more than a simple storage unit or a place to park your car away from the elements.Over time, it has evolved into a vital extension of your home, a functional workshop, a personal gym, and a protective sanctuary for your vehicles. Transforming this space from a dark, cluttered catch-all into a brilliant, highly functional showroom starts from the ground up. Whether you are envisioning a pristine showroom to showcase your luxury sports car or a resilient floor for heavy-duty tools and modular cabinets, selecting the right flooring is the critical first step. When embarking on a garage makeover, the foremost question property owners face revolves around budgeting, specifically understanding the true garage floor coating cost and how it compares to other premium alternatives. Additionally, knowing the overall garage floor cost is essential for effective planning. Planning your dream garage has never been easier. Use our integrated calculator below to estimate theprice per square foot for your specific project. Simply input your garage dimensions, select yourpreferred material, and instantly receive a cost estimation for professional installation. How Many Sq/ft is your garage? 1-Car 2-Car 3-Car 4-Car 350 Sq/Ft What kind of Flooring System? Epoxy Opaque Polyaspartic Flakes Perforated Tiles Estimated Total $3,850 Deconstructing the Garage Floor Coating Cost The final garage floor coating cost depends on various factors. When calculating the garage floor coating cost, it is vital to recognize that the final price tag encompasses far more than just the liquid resin in the bucket. A high-quality, long-lasting floor coating is a multi-stage system, and the variation in pricing per square foot largely depends on the condition of your existing concrete and the quality of the materials utilized.For DIY enthusiasts, the baseline cost might appear deceptively low. Off-the-shelf epoxy kits found at big-box hardware stores typically run a few hundred dollars, breaking down to a very low price per square foot.However, these water-based kits lack the solids content required for genuine durability. Furthermore, the hidden costs of a DIY approach quickly accumulate. You must factor in the rental of a mechanical diamond grinder (crucial for proper adhesion, as acid etching is often insufficient); purchasing patching compounds for existing cracks, specialized rollers, spiked shoes, and personal protective equipment. Professional installation, while requiring a larger initial investment, offers total peace of mind and superior longevity. The professional garage floor coating cost ranges between $5 to $9 per square foot, depending on the size and complexity of the project. A reputable professional process includes moisture testing, concrete hardness testing, rigorous mechanical grinding of the concrete, applying suitable primer, and a protective clear topcoat. This build-up ensures a floor that resists hot tire pickup, chemical spills, and severe temperature changes. Epoxy – Solid Color: The Streamlined Approach For homeowners seeking a clean, uniform aesthetic without the visual texture of a multi-layered flake system, a solid colour epoxy provides a straightforward and classic solution. This traditional method involves applying a pigmented epoxy directly over mechanically prepared concrete, resulting in a sleek, high-gloss finish. It is an effective way to seal porous concrete, eliminate cement dusting, and create a surface that is significantly easier to sweep and mop than a bare floor. Because this approach typically omits the full broadcast of decorative vinyl flakes and the specialized clear topcoats associated with premium systems, solid colour epoxy often presents a more budget-friendly and DIY friendly entry point into floor coatings. It serves well in light-duty environments, residential workshops, or storage spaces where a simple, monochromatic look is the primary goal. However, when considering this option, it is helpful to keep the daily realities of a working garage in mind. A solid, untextured surface will naturally highlight dust, tire marks, and minor surface scratches more readily than a heavily patterned flake floor or a breathable tile system. While it offers a highly dependable protective barrier against general wear, traditional epoxy does not possess the advanced flexibility, UV resistance, slip resistance, and shock resistance found in modern polyaspartic coatings. As a result, solid colour epoxy is generally best suited for DIY projects and garages with moderate vehicular traffic or for spaces that are not regularly exposed to prolonged, direct sunlight when the garage doors are open. Polyaspartic Coatings – Flakes System: The Premium Alternative While epoxy has long been the industry standard, polyaspartic coatings represent the pinnacle of modernflooring technology. Polyaspartic is an aliphatic polyurea formulated to overcome the traditional limitations of standard epoxy. It boasts exceptional UV stability, meaning it will never yellow or amber when exposed to sunlight near your open garage door. Moreover, polyaspartic coatings possess a remarkable flexibility that allows them to bridge small micro-fractures in concrete better than rigid epoxies.The most celebrated advantage of polyaspartic systems is their rapid cure time. A complete multi-layer system can often be installed in a single day, allowing foot traffic and belongings within 24 hours and vehicles within 2-3 days. In contrast, standard epoxies may require up to a week to fully cure before bearing vehicular traffic.Because the raw materials are more expensive and the fast-curing nature demands highly professional, skilled, rapid application, polyaspartic systems command a premium over standard garage floor epoxy costs. However, the significantly reduced downtime and extended lifespan make it an incredibly cost-effective solution over the life of your home. Calculating the garage floor coating cost before starting is essential to avoid pitfalls. Want to learn more about the difference between epoxy and polyaspartic coatings? Click here. Perforated Interlocking Tiles: The Modular Solution For those seeking a completely different aesthetic and functional approach, perforated interlocking tiles offer an outstanding alternative to liquid coatings. These high-impact polymer tiles are engineered to withstand massive weight loads while providing a striking, customizable appearance.The perforated design is ingeniously functional. Dirt, snowmelt, and liquids fall through the surface channels, leaving
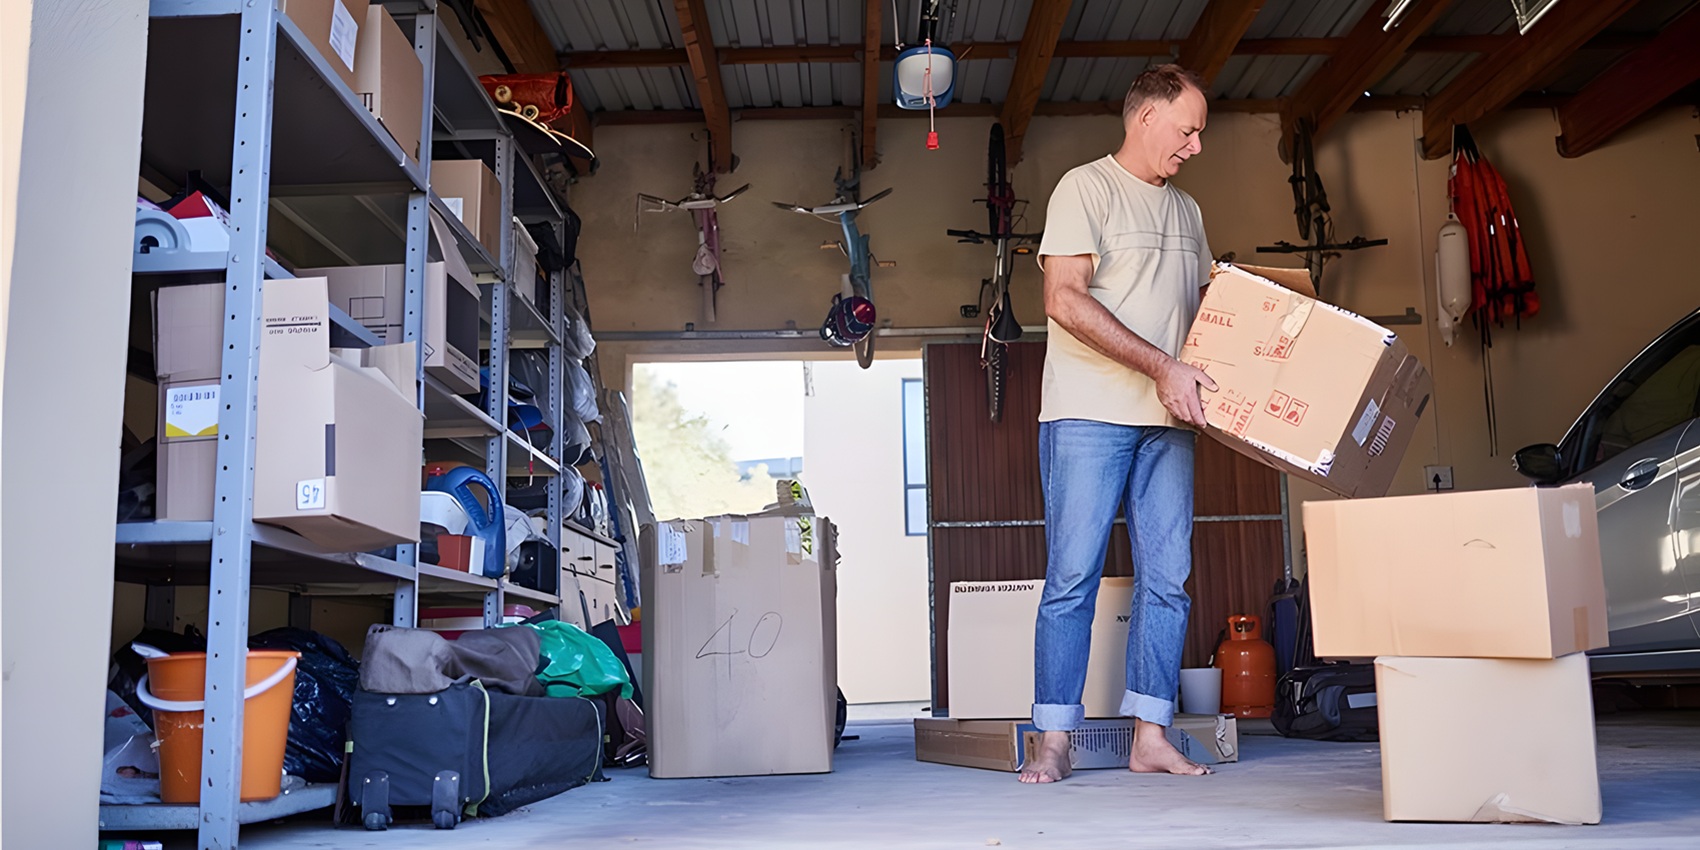
Spring Garage Cleaning Checklist: Reclaim Your Garage
Spring is the perfect time to reset your home, and your garage should be at the top of the list. Over time, garages become catch-all storage zones for tools, holiday decor, sports gear, boxes, and everything in between. If you cannot park your vehicle inside or find what you need quickly, it is time to take action. Properly executed garage maintenance and a comprehensive spring garage cleaning checklist help you reclaim valuable space and create a clean and organized garage. Use this step-by-step plan for a deep clean, spring cleaning your garage, or a full garage cleanout to turn your cluttered garage into an organized space and valuable extension of your home. Why a Garage Cleaning Checklist Matters A successful garage reset is not about random tidying. It requires structure. A strategic checklist ensures that each phase of the process is completed thoroughly, from decluttering to final organization. Without a plan, homeowners often move clutter from one area to another, clean around stored items instead of beneath them, or reintroduce unnecessary items back into the space. A checklist approach eliminates inefficiencies and prevents recurring disorganization. Did You Know? According to a recent CRAFTSMAN survey 62% of Americans say the garage is the most cluttered area of their home, and 36% of homeowners (more than 1 in 3)! admit their garage is so unorganized they can no longer park a vehicle inside.” Step 1: Define the Purpose of Your Garage Determine how the space should function moving forward. A garage can serve multiple purposes, but clarity drives better decisions. Ask yourself whether vehicles should fit comfortably inside, whether a workshop area is required, or if structured storage for sports equipment and lawn tools is necessary. Your answers will influence layout decisions, storage investments, and long-term organization strategies. Check the Forecast: Choose a dry, clear weekend. You’ll likely be moving items onto the driveway, and rain is the last thing you need. Step 2: Empty and Declutter The most critical step in your garage cleanup is to start with a completely empty garage and make deliberate organizing decisions. Seeing the empty space helps you visualize the potential and ensures you reach every dusty corner. Empty the full floor area so you can inspect and clean the floor and walls thoroughly. Remove every item to assess what you truly need and group similar items together. As you sort, ask yourself: The Four-Pile Method: As you pull items out, immediately sort them into four categories: A garage organized from this foundation will be easier to clean, maintain, and optimize. Step 3: The Deep Clean Once the garage is empty, it’s time to tackle the years of accumulated “garage grime.” Pro Tip: If your floor is cracked, stained, or constantly dusty, this is the perfect time to consider a polyaspartic floor coating. Unlike standard epoxy, polyaspartic is UV-stable, chemical-resistant, and can be installed in just one day, giving you a showroom finish that’s incredibly easy to keep clean. Step 4: The Organization Strategy Now that the space is sparkling, don’t just put everything back where it was. Use the “Zone” method to ensure the garage stays clean. Create Functional Zones: Organize and label: create zones so items are easy to find; keep like items together and use labelled boxes to maintain order. Sort and group like items together: tools and equipment, sports equipment, lawn equipment, and seasonal items. Go Vertical: The floor should be for cars, not boxes. Invest in Cabinets: Open shelving can still look cluttered. Custom garage cabinets allow you to hide the “visual noise” and keep dangerous chemicals or expensive tools locked away safely. Step 5: Update & Safety A clean garage is a safe garage. Finish your checklist by checking the essentials: Step 6: Maintenance Tips to Keep Your Garage Clean Condensed Step-by-Step Cleaning Checklist Below is a condensed version of the process to follow. Pre-Cleaning ▢ Check the weather forecast for a dry weekend.▢ Gather supplies (pressure washer, degreaser, broom, bins).▢ Define the garage’s purpose (parking, workshop, or storage).▢ Clear the driveway to create a sorting station. Decluttering ▢ Empty the garage completely to inspect the walls and floors.▢ Sort into four piles: Keep, Donate, Sell, Trash.▢ Properly dispose of hazardous waste (paint, oil, chemicals).▢ Schedule pickups for donations and list items for sale. Cleaning ▢ Dust from top to bottom (ceilings, rafters, and vents).▢ Wipe down walls and the interior of the garage door.▢ Clean and lubricate garage door tracks and sensors.▢ Scrub oil spots with degreaser and deep-clean the floor.▢ Inspect for floor cracks or consider a polyaspartic coating. Organization ▢ Group items into functional “Zones” (Garden, Tools, Sports). ▢ Utilize vertical space with slatwalls and hooks.▢ Move seasonal items to overhead ceiling racks. ▢ Install cabinets to hide “visual noise” and lock up chemicals. ▢ Label all bins and containers for quick identification. Safety & Maintenance ▢ Replace dim bulbs with high-output LED shop lights. ▢ Test the auto-reverse safety sensors on the garage door. ▢ Check the fire extinguisher and carbon monoxide detector batteries. ▢ Schedule a seasonal declutter to maintain the space. This visual reference reinforces the structure of your garage cleaning checklist and provides a practical tool during your spring reset. Following this comprehensive checklist and combining tidying and organizing with smart garage storage solutions will help you keep your garage clean, functional, and ready for vehicles, tools, and seasonal gear. At Orga Spaces, we specialize in complete garage transformations that go beyond temporary cleanups, delivering structured, long-term solutions that maximize functionality, protect your investment, and ensure your garage stays organized well beyond spring. Ready to start enjoying your garage? Contact Orgaspaces today for a free consultation, and let our design experts help you unlock the full potential of your space.

Polyaspartic vs. Epoxy: Which Floor Coating Is Right for You?
When choosing between polyaspartic and epoxy for a concrete floor, homeowners often weigh longevity, appearance, installation time, and cost. Epoxy has been a go-to choice for decades, while polyaspartic coatings are a newer, versatile coating that offers several advantages compared to epoxy. Understanding the differences between polyaspartic vs epoxy can help in making the best decision for your flooring needs. When comparing polyaspartic vs epoxy, many users find polyaspartic coatings to offer more benefits, making them a popular choice in recent years. Key Differences Pros and Cons Cons of epoxy: epoxy coatings require longer curing, can yellow over time with UV exposure, and may be sensitive to humidity and low surface temperatures during installation. For instance, when evaluating polyaspartic vs epoxy, the longevity of polyaspartic is often highlighted. Pros of polyaspartic: rapid curing, UV protection, reduced yellowing, good adhesion to concrete garage floors, ability to be applied to vertical surfaces, and fast return-to-service. Furthermore, understanding the pros and cons of polyaspartic vs epoxy will aid in making an informed choice. Cons of polyaspartic: higher cost per square foot and shorter pot life during application, which can be challenging for inexperienced installers. Pros of epoxy: affordable, available in a wide range of colours and decorative options, excellent adhesion to a properly prepared concrete surface, and common in DIY epoxy floor coatings. Cons of epoxy: epoxy coatings require longer curing, can yellow over time with uv exposure, and may be sensitive to humidity and low surface temperatures during installation. Applications and Aesthetics Both epoxy and polyaspartic and epoxy garage floor coatings are used in residential and commercial settings. Decorative flakes and metallic finishes are popular for garage and workshop concrete floors because they create a visually appealing, slip-resistant surface. Polyaspartic and epoxy coatings can both incorporate chips, but polyaspartic’s rapid curing time lets you finish multi-coat systems in a single day on many concrete garage floors. Many professionals recommend polyaspartic over epoxy, especially when considering the benefits of polyaspartic vs epoxy. DIY vs Professional Installation In summary, when weighing polyaspartic vs epoxy, the differences can greatly affect your final decision. For a DIY epoxy floor, epoxy is often easier for beginners due to its longer open working time. However, DIY epoxy floor coatings still require careful surface preparation and awareness of levels of VOCs and volatile organic compounds. Polyaspartics set quickly and can be more difficult for DIYers to manage—mixing and spreading must be rapid to avoid defects—so many homeowners opt for professional installers for polyaspartic or complex epoxy and polyaspartic coatings. Choosing Based on Needs For those needing minimal downtime, polyaspartic coatings shine in the polyaspartic vs epoxy comparison. One must consider the price point when discussing polyaspartic vs epoxy options. Practical Considerations Surface preparation of the concrete floor is critical for both systems: proper cleaning, etching, or diamond grinding, and addressing moisture issues will extend longevity and performance. Consider the garage floor needs—slip resistance, high-traffic durability, and chemical resistance—when selecting a type of coating. Also evaluate turnaround time, levels of VOCs, and the installer’s experience with polyaspartics or epoxy and polyaspartic combinations. Summary The difference between the two boils down to curing speed, UV protection, cost, and installation complexity. Polyaspartic coatings can be applied quickly, tolerate a wider range of conditions, and perform better under UV exposure, while epoxy remains a cost-effective, decorative option familiar to DIYers. For a long-lasting, visually appealing garage or concrete floor, weigh the higher cost of polyaspartics against their rapid setting time and superior UV resistance to decide which floor coating best fits your project. Choosing the right garage floor coating directly impacts performance, maintenance, and appearance. What Is Epoxy? In your search for the ideal floor coating, the polyaspartic vs epoxy debate will arise time and again. Epoxy is a class of thermosetting polymers formed by the reaction of epoxy resins with hardeners that creates a rigid, durable, and chemically resistant plastic. It is commonly used as an adhesive, coating, composite binder, and floor coating because it bonds strongly to many substrates, resists wear and many chemicals, and has a glossy finish. What Is Polyaspartic? Polyaspartic is a type of fast-curing aliphatic coating derived from modified aliphatic amines; it forms a durable, UV-stable, high-gloss film used for floors, concrete overlays, and protective topcoats. 1. UV Stability That Prevents Yellowing Epoxy floors are prone to fading and yellowing when exposed to sunlight. Polyaspartic coatings are UV-stable, meaning they resist discoloration and maintain their gloss for years. If your garage receives natural light, this is a major advantage over epoxy. 2. Superior Chemical and Stain Resistance Garages are exposed to oil, brake fluid, gasoline, moisture, and household chemicals. Polyaspartic coatings provide stronger chemical resistance than epoxy, preventing stains and allowing spills to be cleaned easily. A full flake broadcast system also helps conceal dirt and minor surface imperfections. 3. Greater Durability Under Heavy Use Garage floors must handle vehicle weight, impact from tools, and temperature fluctuations. Epoxy is more rigid and prone to cracking or chipping over time. A polyurea base coat penetrates deeper into the concrete, creating a flexible and impact-resistant surface designed for long-term performance. 4. Stronger Concrete Adhesion and No Hot Tire Pickup Hot tire pickup is a common epoxy failure where heated tires cause the coating to peel. Polyurea bonds deep into concrete pores, creating superior bonding. When combined with a polyaspartic topcoat, the system resists peeling and delamination even under repeated vehicle traffic. 5. Installed in One Day Epoxy often requires multiple days between coats and an extended set time before you can park on it. A polyurea and polyaspartic garage floor is installed in one day. In many cases, you can walk on it the same day and park on it shortly after. Less downtime, same garage. 6. Better Traction Slippery garage floors can be a serious safety concern, especially in areas prone to spills or moisture. Polyaspartic coatings are designed with enhanced anti-slip properties, providing a textured surface that improves traction and reduces the risk of accidents. Unlike epoxy, which

Epoxy Cleaning and Maintenance
Maintaining a clean epoxy floor is not as hard as it seems when you follow proper epoxy cleaning techniques. Regular epoxy cleaning is key to preserving your floor’s appearance. In fact, one of the primary reasons for having a floor coating is for the ease of maintenance. These cleaning tips are the same for epoxy or polyaspartic floor coatings as well, with specific emphasis on epoxy cleaning. In fact, one of the primary reasons for having a floor coating is for the ease of maintenance through epoxy cleaning. These cleaning tips are the same for epoxy or polyaspartic floor coatings as well, with specific emphasis on epoxy cleaning. Effective epoxy cleaning can prevent damage and maintain the integrity of your floor. As resilient as floor coatings are to dirt and stains, they do require some cleaning maintenance to keep their shine. If not, some coatings can start to lose their gloss due to the sanding effect of the loose dirt and grime that gets caught up under shoes and tires, making effective epoxy cleaning essential. For regular cleaning of your floor, a simple dust mop will work wonders. Applying your dust mop around once a week is the best way to clean epoxy floors and gather up stray dust or dirt. Every three or four months, a more vigorous scrub may be required to obtain a clean epoxy floor. Tools specifically designed for epoxy cleaning can enhance the efficiency and results of your maintenance routine. Tools The first thing we recommend is getting yourself a quality 24” to 36” microfiber mop. If you have a floor coating with an aggressive anti-slip aggregate, such as aluminium oxide, or you don’t care for dust mops for a particular reason, then a soft-bristle push broom makes for a great choice as well. For floor coatings with contraction joints or saw cuts on the floor, vacuum them out monthly or use a broom to sweep them clean of debris. For spot-cleaning any stubborn dirt that you encounter, a soft scrub pad can be used. Just don’t scrub too hard, or you may degloss the surface. Understanding essential epoxy cleaning techniques will ensure your floors remain in top condition. Spot cleaning for spills or fluid leaks from cars can easily be wiped up with a paper towel or soft cloth. A shot of Windex works wonders if the spill has left a film. Essential Epoxy Cleaning Techniques By adhering to regular epoxy cleaning practices, you can avoid costly repairs and replacements. Incorporating proper epoxy cleaning techniques helps extend the life of your floor coating. Our favorite cleaning solution that works well for regular floor cleaning is ½ cup of ammonia to a gallon of hot water in a bucket. Apply it using the foam or microfiber mop. Be sure to rinse the mop frequently in the bucket of hot water to rid it of the debris it picks up. This even works well for floors that have salt film and residue. Windex is another solution that will give you a little bit more cleaning power if it’s needed. Mix a ratio of 1 part Windex to 3 parts water. The chemicals in Windex will not leave a film on the coating and do a good job of cutting through residue. Implement these epoxy cleaning tips to maintain a pristine look and feel. If you have stubborn salt film or rust stains, use a 1:1 ratio of CLR brand cleaner with warm water. Use a soft scrub pad or brush to clean the surface, and then rinse with cold water. Marks left by tires can be the toughest to remove if not cleaned regularly. Generally, the easiest way to remove these marks is to soak the area for a few minutes first with a good cleaner such as Simple Green or a concrete degreaser. After it has soaked, use a semi-stiff bristle brush to remove the tire marks. Another product that people have had success with is Goof Off. Be careful if using a scrub pad as these will sometimes de-gloss the finish. A warning for when you are cleaning your polyaspartic floor coating: stay away from certain products. Do not use Comet or other abrasive cleaning chemicals on the coatings. Using citrus cleaners or vinegar can also cause your epoxy floor to lose its glossy shine. Cleaners with soap also have the possibility of leaving streak marks on your floor, and will increase the likelihood that your floor will become slippery when wet. Tips If you have any inquiries about epoxy cleaning or if you’d like to use the expert coating installation service offered by Orgaspaces, please contact us. Use a walk-off mat (welcome mat) inside any entry door to assist in the removal of snow and water from the bottoms of shoes when entering the garage. Longer mats may be required during winter weather. Place a computer mouse pad under a motorcycle kickstand to prevent damage to the coating’s surface. Place pieces of half-inch plywood under jack stands when bearing heavy loads. Use a welding mat when welding above polyurea coatings. If you have a car that sits for long periods of time, you may want to park each tire over a small scrap of cardboard, carpet, or any other material that you can discard. Cleaning a garage floor coating should be easy. Just use these cleaning tips and methods for your quick and easy floor coating maintenance. Doing so will help to maintain a cleaner-looking floor that will hold its gloss and finish for a longer period of time. If you have any inquiries about concrete coating or if you’d like to use the expert coating installation service offered by Orgaspaces, please contact us. We are more than happy to help you select the most suitable solution for your garage.

Efflorescence Explained! Causes, Removal & Prevention for Garage Concrete
Efflorescence is a common issue for concrete that appears as a white, powdery residue on the surface of garage floors and other concrete slabs. While it is not dangerous to the structure on its own, it is a clear sign of moisture movement within the concrete. Understanding this phenomenon is crucial for homeowners and property managers alike, as it can lead to more significant problems if left unaddressed. If you are noticing white powder on your garage floor, this guide explains what causes the issue, how to remove it, and how to prevent it from coming back. It’s essential to take action promptly to protect your investment and maintain the integrity of your concrete surfaces. What Causes Efflorescence in Concrete? The white residue occurs when soluble salts inside the concrete dissolve in water and migrate to the surface. As the moisture evaporates, it leaves behind white crystalline deposits. This process can be exacerbated by environmental factors and the specific conditions of your garage, making it vital to understand your local climate and how it interacts with your garage’s materials. Common Sources of Moisture The salts can originate from cement, aggregates, or surrounding soil. Garages are particularly vulnerable due to vehicle moisture, seasonal weather changes, and limited ventilation. Implementing a regular cleaning and maintenance schedule can help mitigate these risks and keep your garage in optimal condition. Is Efflorescence a Structural Problem? The white deposits by themselves do not damage the structural integrity of concrete. However, they indicate that there is excess moisture, which can lead to long-term concrete deterioration if left ignored. It’s crucial to understand that while these deposits may seem like a minor issue, they can be a precursor to more severe structural concerns over time. Moisture intrusion may eventually cause: Additionally, identify any sources of potential water infiltration or vapour transmission that may contribute to the problem. Regular inspections and maintenance can play a significant role in the early detection and prevention of efflorescence. If you are planning to install a polyaspartic or epoxy garage floor coating, addressing efflorescence is critical beforehand. Ignoring this step can lead to failures in the coating system, negating the benefits of your investment. How to Remove Efflorescence from a Garage Floor Removing efflorescence starts with identifying and correcting the moisture source. Without fixing the underlying issue, the white residue will return. Effective removal techniques require a thorough understanding of the materials involved as well as appropriate cleaning methods. Professional removal methods after addressing the moisture source include: Neglecting to address moisture intrusion can result in severe consequences, such as expensive repairs and compromised safety. Taking proactive measures now can save you time and money in the future. For garage floor coatings such as polyaspartic or epoxy, it is essential to get professional concrete grinding and moisture testing, such as the services provided by Orga Spaces, to ensure proper surface preparation before coating installation. This step is crucial for achieving the best performance of your floor coating. How to Prevent Efflorescence in Concrete Preventing efflorescence focuses on moisture control. You will need to improve and have proper drainage around the garage foundation, increase garage ventilation with fans or dehumidifiers, or seal the concrete surface. OrgaSpaces installs moisture vapour barrier systems beneath polyaspartic coatings when elevated concrete humidity is detected. Implementing these strategies will reduce the risk of efflorescence occurring in the first place. Final Thoughts on Efflorescence in Garage Concrete Efflorescence is a common sign of moisture movement in concrete slabs. While it may begin as a cosmetic issue, untreated moisture can lead to surface damage and coating failure over time. It’s vital to remain vigilant and take swift action when you notice any signs of efflorescence. Consider consulting with professionals who specialize in concrete maintenance to ensure the correct approach is taken. They can offer insights tailored to your specific situation, ensuring long-lasting results. At Orga Spaces, we specialize in professional garage floor preparation and polyaspartic flake coating systems designed to address moisture issues properly before installation. If you are experiencing efflorescence or planning a garage floor upgrade, our team can evaluate your concrete and recommend the right long-term solution. Don’t hesitate to reach out for a consultation. Regular monitoring and adjustments to these systems are also critical. Conduct periodic checks to ensure that drainage systems remain unobstructed and that ventilation systems are functioning correctly.