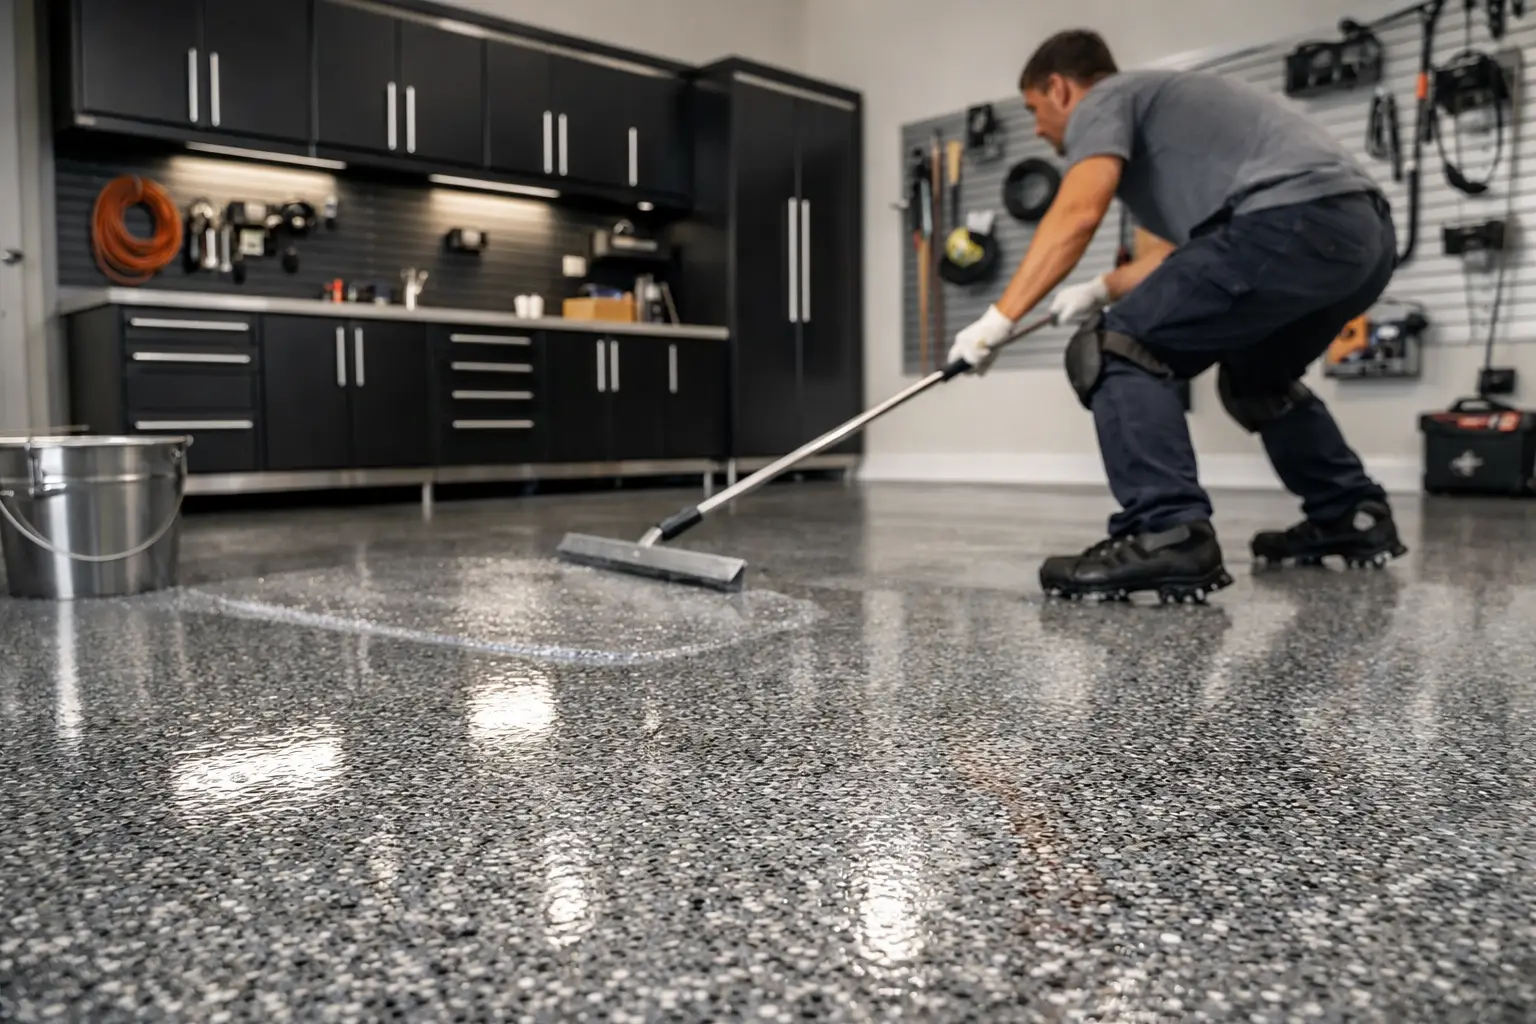
A garage floor has to work harder than almost any other surface in the home. It carries vehicle weight, catches muddy shoes, absorbs dropped tools, and often becomes the backdrop for everything from weekend projects to family storage. Learning how to finish concrete garage floors is less about choosing a colour and more about choosing a system that will stand up to the way you actually live.
A finished floor changes the feeling of the entire garage. When paired with thoughtful cabinetry and storage, it turns a concrete catch-all into a clean, intentional extension of your home. The right finish should be attractive, easy to maintain, and prepared for the heat, humidity, and daily demands common in North Texas.
How to Finish Concrete Garage Floors for Lasting Results
The finish itself matters, but surface preparation determines whether it lasts. Concrete is porous, and a garage slab may have years of dust, oil, moisture exposure, tyre residue, and small cracks beneath the surface. A coating applied over an inadequately prepared slab can peel, bubble, or wear unevenly long before it should.
Start by assessing the condition of the concrete. Look for active cracks, areas that are flaking or powdery, dark oil stains, old paint, and signs of moisture. Hairline cracks are common and can often be repaired as part of the finishing process. Wider cracks, movement at control joints, or persistent moisture may require a more specific solution before any coating is installed.
It is also worth considering how the garage is used. A light-use garage that stores seasonal items has different needs than a space housing multiple vehicles, home gym equipment, tools, bikes, or a workshop. The more demanding the use, the more valuable a professionally installed coating system becomes.
Choose the right type of finish
Paint is the simplest and least expensive route, but it is usually a short-term cosmetic improvement. Concrete paint can be appropriate for a low-traffic utility area, yet it is more vulnerable to hot-tyre pickup, chipping, stains, and frequent touch-ups in an active garage.
Traditional epoxy coatings offer a thicker, more polished appearance than paint and can improve resistance to spills. However, product quality, installation conditions, and preparation make a significant difference. Some epoxy systems can yellow with UV exposure or take longer to cure, which may be inconvenient when the garage is central to everyday routines.
For homeowners looking for a premium, high-performance result, a polyaspartic full-flake system is often the stronger choice. It is UV-stable, chemical-resistant, easy to clean, and designed to resist yellowing and cracking. Full flake coverage also adds visual depth while helping create a slip-resistant surface. Rather than looking like a painted slab, the floor has the finished appearance of a purpose-designed room.
The right option depends on your budget, timeline, and expectations. If the goal is simply to make an unfinished utility space look better for a season or two, paint may be enough. If the goal is to create a garage that supports your home and looks refined for years, investing in proper preparation and a durable coating is the more practical decision.
Preparation is the part you cannot skip
The most common floor-coating failure is not a bad top coat. It is poor adhesion caused by rushed preparation. Sweeping and washing the concrete is not enough to create the texture a coating needs to bond properly.
Professional preparation typically begins with diamond grinding. This mechanically opens the pores of the concrete and removes surface contaminants, weak concrete, old coatings, and inconsistencies. It creates a clean, properly profiled surface without relying solely on acid etching, which can produce uneven results if the slab is dense or contaminated.
Once the surface is ground, the team should vacuum thoroughly and inspect the slab again. Cracks and small imperfections are repaired before the base coat is applied. This step is especially valuable in a garage makeover because a clean floor makes every other design detail feel more elevated. Cabinet lines look sharper, stored equipment feels more deliberate, and the space is easier to keep visually calm.
Do not overlook moisture testing. Concrete can release moisture vapour even when it appears dry, and that vapour can interfere with certain coatings. A professional installer can assess the slab and recommend a system suited to its condition instead of treating every garage floor the same way.
What a premium full-flake installation involves
A full-flake coating system is built in layers, with each layer doing a specific job. The process can often be completed in one day, but the efficiency comes from using compatible materials and experienced installation practices, not from cutting corners.
After diamond grinding and crack repair, a polyurea primer or base coat is applied to the prepared concrete. This layer is formulated to bond strongly to the slab. Vinyl flakes are then broadcast across the entire surface until full coverage is achieved. The flakes are not merely decorative. They help create texture, conceal minor visual variations, and produce the distinct finished look many homeowners want.
After the coating cures, excess flakes are removed and the surface is prepared for a clear polyaspartic top coat. This final layer seals the system, adds durability, and makes routine cleanup remarkably straightforward. Dirt, dust, road residue, and many household spills can generally be handled with a soft broom, a hose, or a gentle cleaner.
Flake colour deserves more consideration than it first appears. A lighter blend can brighten a garage with limited natural light, while a medium or darker blend can be more forgiving around vehicle traffic. The best choice should also complement the cabinet finish, wall colour, and overall design direction. A garage floor does not need to be the loudest feature in the room, but it should make the room feel complete.
Plan the finish around the whole garage
Flooring is easiest to install when the garage is empty, which makes it a smart first step in a larger renovation. Before installation day, remove vehicles, freestanding shelving, boxes, and stored items. If you are adding custom cabinets, overhead storage, or wall organization, coordinate the sequence so the space is designed as one system rather than upgraded in disconnected stages.
This planning matters because the floor influences how the entire garage functions. A durable, wipeable surface makes it easier to park vehicles precisely, roll bins into place, clean under work areas, and keep sports equipment from drifting into walkways. The garage becomes less of a holding zone and more of a space that helps reclaim your time.
For a full garage transformation, Orga Spaces combines tailored design, 3D visualization, storage planning, and professional installation so the floor, cabinetry, and organization work together. The result is not simply a cleaner garage. It is a space with a clear purpose and room for you to breathe.
Care for your finished garage floor
A quality coating is low maintenance, not maintenance-free. Sweep grit and road debris regularly so it does not act like sandpaper under tyres or foot traffic. Wipe up oil, automotive fluids, and chemical spills promptly, even when the coating is designed to resist them. For deeper cleaning, use a mild, non-abrasive cleaner and a soft mop or deck brush.
Avoid harsh solvents unless the installer confirms they are appropriate for your specific top coat. It is also wise to use protective pads beneath extremely heavy equipment and to avoid dragging sharp metal items across the floor. These small habits preserve the finish and protect the polished look that made the upgrade worthwhile.
A well-finished garage floor is an investment in how the space feels every time you come home. When the concrete is properly prepared, coated, and integrated into a thoughtful design, the garage stops asking for attention and starts giving something back: a calmer, cleaner place to begin and end the day.